Adding subtitles to your content can be a game-changer that helps you reach out to a wider audience to enjoy your videos.

If you’re wondering how to add subtitles to iMovie, you’re in the right place. In this guide, we’ll take you through the step-by-step process of adding subtitles to your videos using iMovie.
Step 1: Import Your Video into iMovie
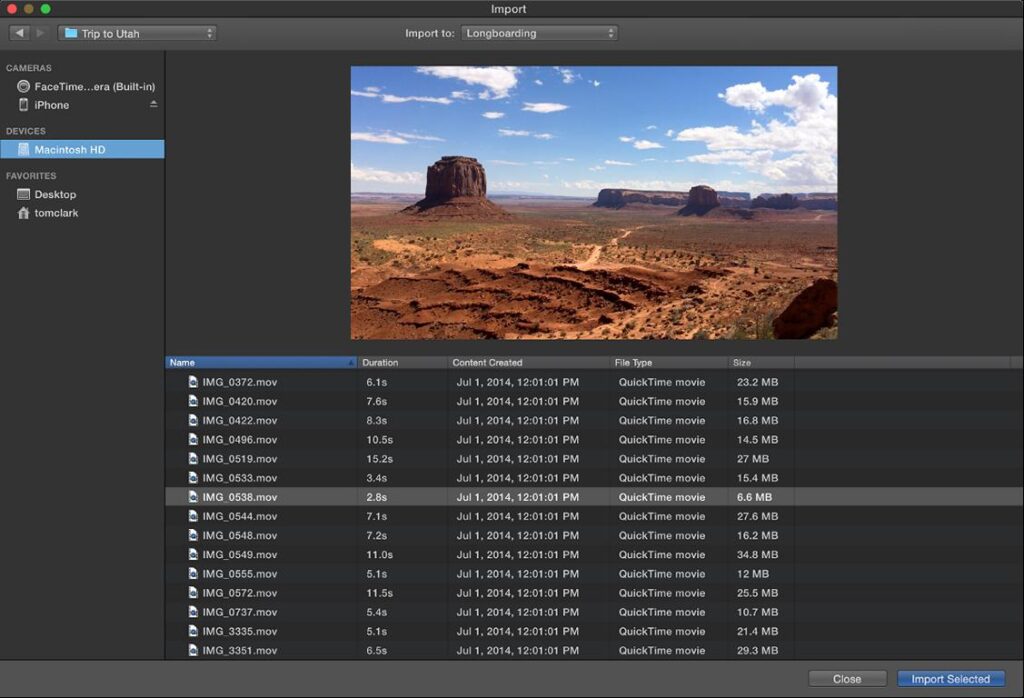
Begin by launching iMovie on your Mac and creating a new project. Import the video you wish to enhance with subtitles. To do this, click the “+ Create New” button, choose “Movie,” and select the video file from your computer. Drag and drop the video onto the project timeline.
Step 2: Craft a Subtitle Title
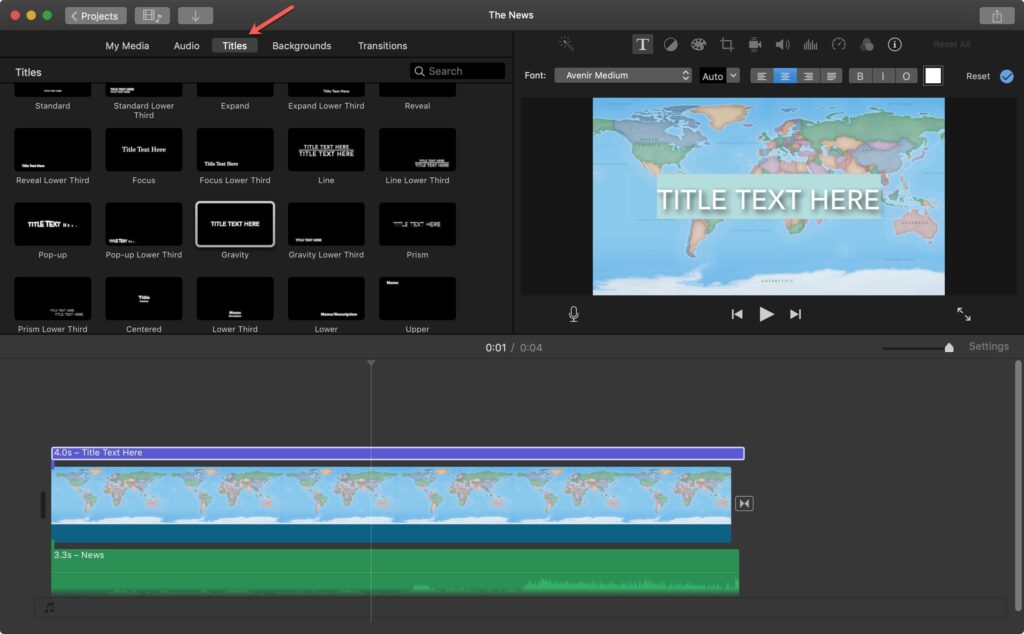
Navigate to the Titles section within iMovie’s toolbar. Here, you’ll find various title styles to choose from. Select a style that complements your video’s aesthetic. Drag the chosen title style onto the timeline at the point where you want your subtitles to appear. This action creates a title card on the timeline.
Step 3: Insert Your Subtitles
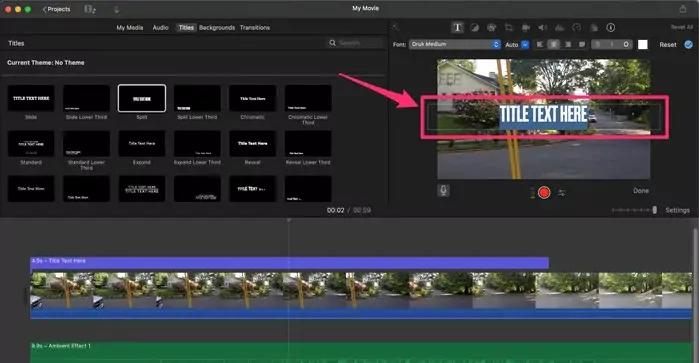
Double-click the title card you just added to open the Title Inspector. Within the Title Inspector, you’ll find a text box. This is where you’ll enter the subtitle text for the corresponding section of your video. Adjust the font, size, color, and alignment of the text to match your video’s style and branding.
If you have a subtitle file (common formats include .srt, .vtt, and .ass), you can easily incorporate it into your iMovie project. Make sure the subtitle file’s timing matches the video’s dialogue.
If you don’t have a subtitle file ready, here’s how you can generate one:
Manual Creation
Transcribing the dialogue or narration in your video manually. Use a text editor or a specialized transcription tool to create a timed transcript of the spoken content.
AI-Subtitle Generators
Use AI-powered tools like Dubverse SUB to automatically generate subtitle files within minutes. Upload your video, select languages and it’s done. You can edit, recreate and add as many languages as you want.
Step 4: Sync Your Subtitles

Ensuring your subtitles align seamlessly with your video content is essential. To achieve this, make use of the “Duration” setting within the Title Inspector. Adjust the duration of the title card to match the timeframe you want the subtitles to be visible on the screen. Fine-tune the timing by utilizing the “Start” and “End” options.
Step 5: Replicate and Tailor for Additional Subtitles

If your video requires multiple subtitle segments, there’s no need to start anew each time. Simply duplicate the title card by right-clicking on it and selecting “Duplicate.” Then, customize the text and timing for each duplicated title card to correspond with different subtitles.
Step 6: Export Your Subtitled Video
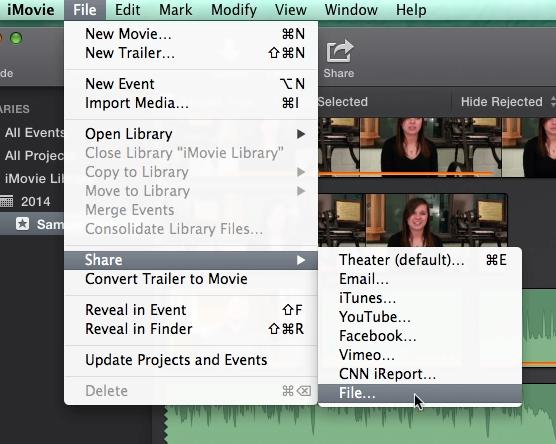
With your subtitles perfectly placed, it’s time to export your video. Click on the “File” menu, choose “Share,” and select your preferred export settings, including resolution and file format. Proceed by clicking “Next,” naming your video, determining the destination, and then selecting “Save.”
Congratulations! You’ve successfully enriched your iMovie video with subtitles. As you share your content with the world, your audience can now enjoy your videos regardless of their hearing capabilities or language preferences.
By following these straightforward steps, you’ll enhance the accessibility of your videos and broaden your connection with a diverse audience.