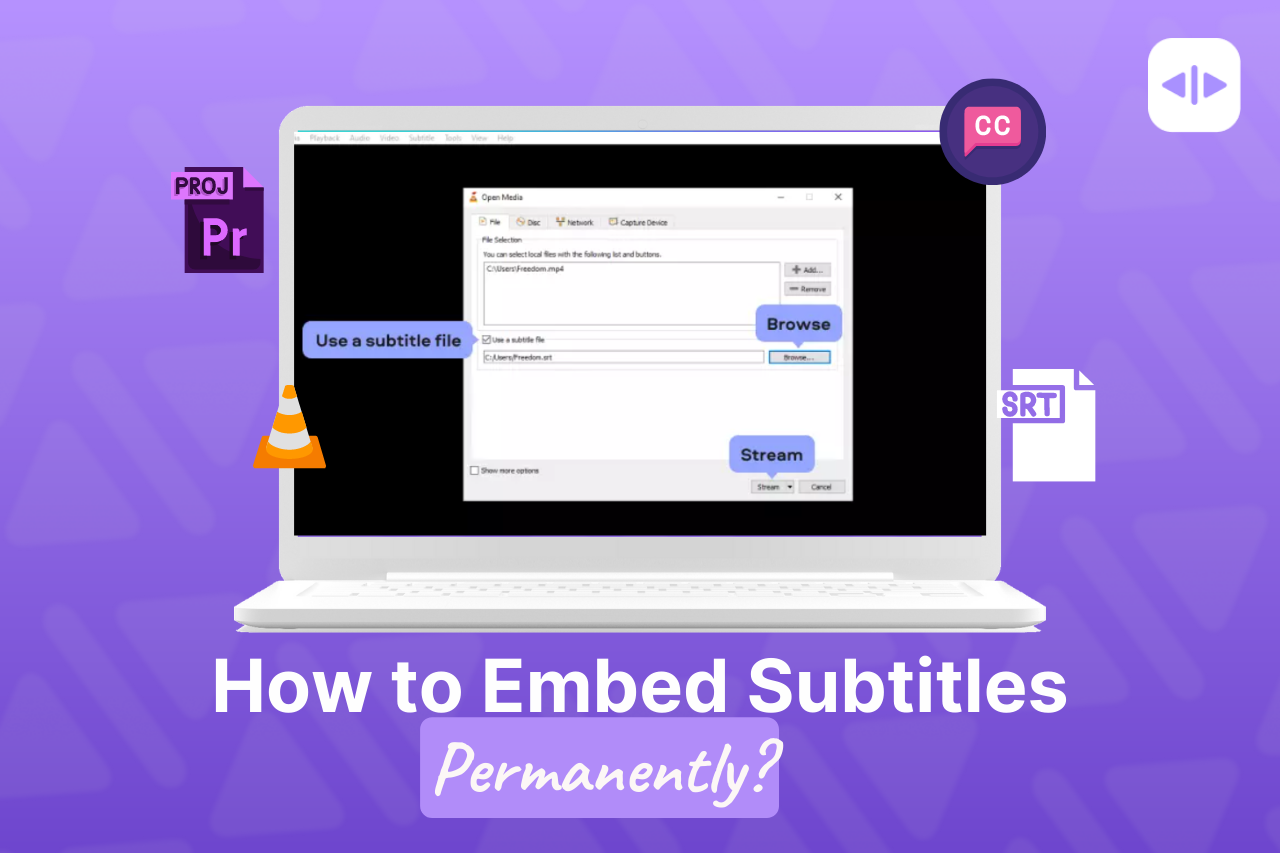
If you want to share your video on platforms where external subtitle files might not be supported or easily added (such as social media platforms), embedding subtitles directly into the video can ensure that the subtitles are displayed regardless of where the video is shared.
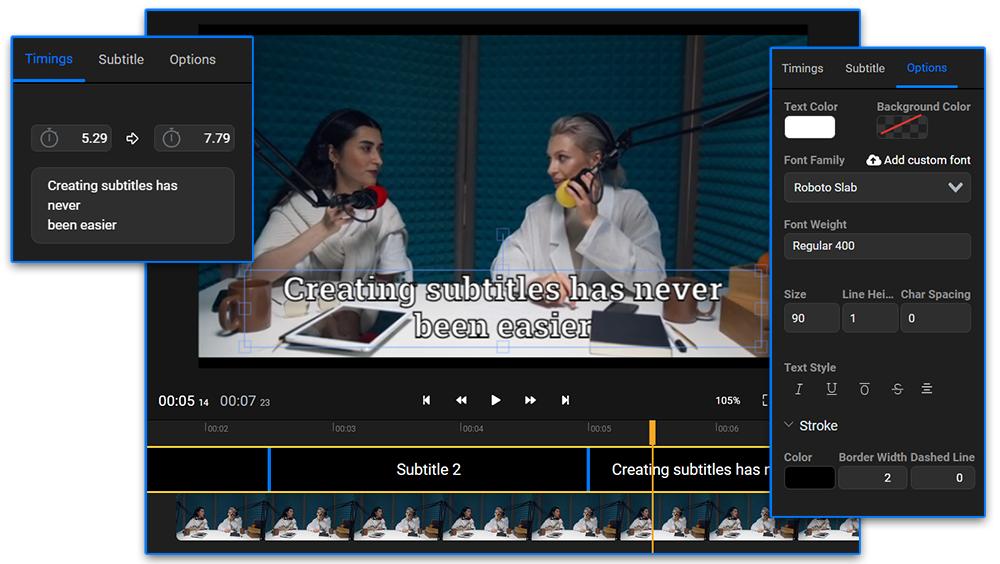
In this blog, we’ll discuss how to embed subtitles into any video using different video editing tools and software.
Why Embed Subtitles Into Your Videos?
A PLYMedia study pointed out that videos with subtitles are watched up to the 91% completion mark, as opposed to the 66% completion rate for videos without subtitles. This only goes to show the magnetic power of subtitles. When you incorporate subtitles into your videos, you drastically enhance the viewing experience, making your content more accessible and engaging, while also granting viewers a better grasp of your video’s content.

Embedding subtitles into your videos can cater to people with auditory impairments, provide clarity in noisy environments, and serve non-native speakers by removing any language barriers. Subtitles can also improve the SEO of your video since search engines can crawl and index the text, leading to more visibility and views. These are just a handful of reasons why subtitles are proving to be increasingly indispensable in the world of online video content.
Necessary Tools: What You Need to Get Started
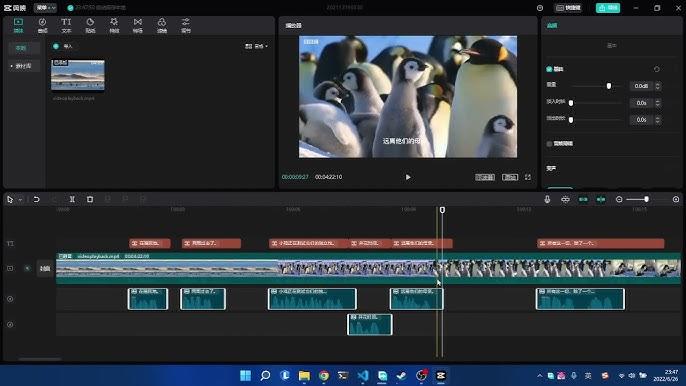
Before we delve into the process of embedding subtitles, let’s take a look at the pre-requisites. Here’s what you’ll need to get going:
- A video file: Please ensure that your video is in a format that can be easily accepted by most video editors. Formats such as .mp4, .mov, etc are commonly used.
- A subtitle file: These usually come in .srt or .ass formats.
- A video editor or media player software: Some popular choices include Adobe Premiere, VLC Media Player, or a video converter tool. We’ll cover how to use these tools in the next section of this guide.
By preparing these essential assets, you will be all set to embark on your journey of learning how to permanently embed subtitles into a video.
How to Embed Subtitles?
Acquire the Correct Subtitle File
Depending on your project, you may want to create your own subtitle file. There are a variety of software options available for this, ranging from basic to advanced.
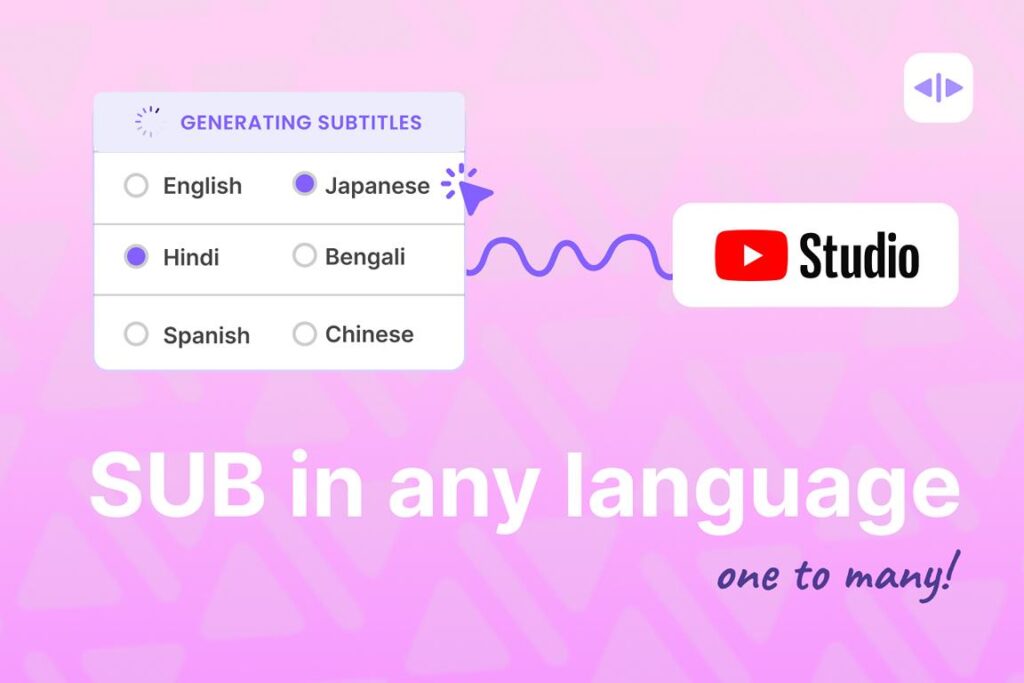
You can create subtitle files manually, hiring a professional or using a subtitle generator tool. The fastest way is to use an AI subtitle tool to generate subtitles in almost any language within minutes.
Getting the right subtitle file is important since you will be permanently adding it to your video. If anything goes wrong, you’ll have to embed subtitles from scratch.
Get Your Video Editing Software Ready
How to Embed Subtitles Into Your Video with Adobe Premiere Pro?
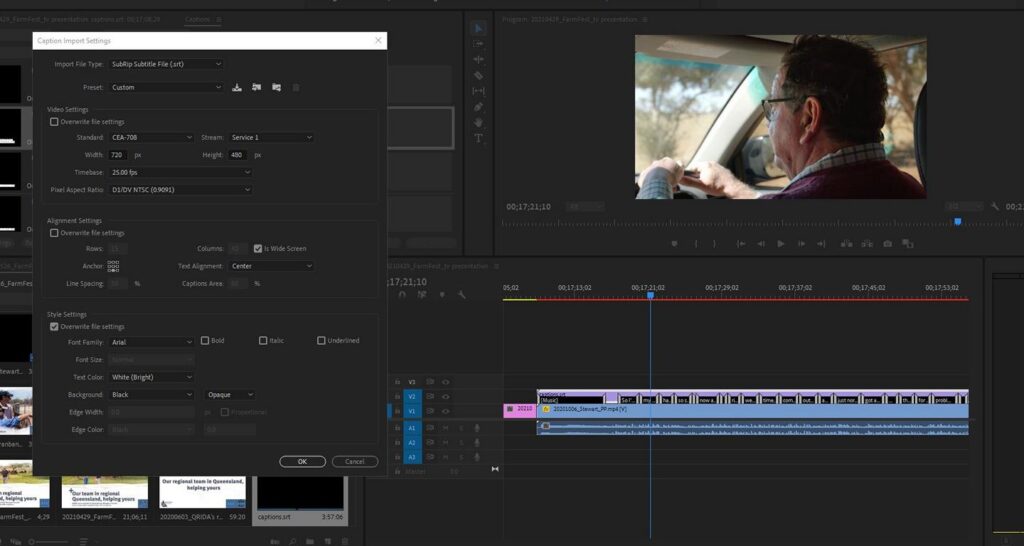
- Start Adobe Premiere and create a new project.
- Next, import both your video file and subtitle file into the project.
- Once done, drag your video file into the timeline.
- Go to ‘File’, click on ‘New’ and then select ‘Captions’ from the dropdown.
- Now, select your caption format and video setting, proceeding by clicking ‘OK’.
- Drag the caption layer over the video clip positioned in the timeline.
- Once done, select the caption layer in the timeline. You will spot a ‘Captions’ tab – this is where you input your subtitles in the text box.
- Once you’ve completed editing, export your video and watch it with your newly embedded subtitles.
The process may seem intricate at first glance, but once you get your hands on it, it becomes fairly straightforward. Adobe Premiere Pro is just one of many video editing software out there to help you in this task.
How to Embed Subtitles Into Your Video with VLC Media Player?
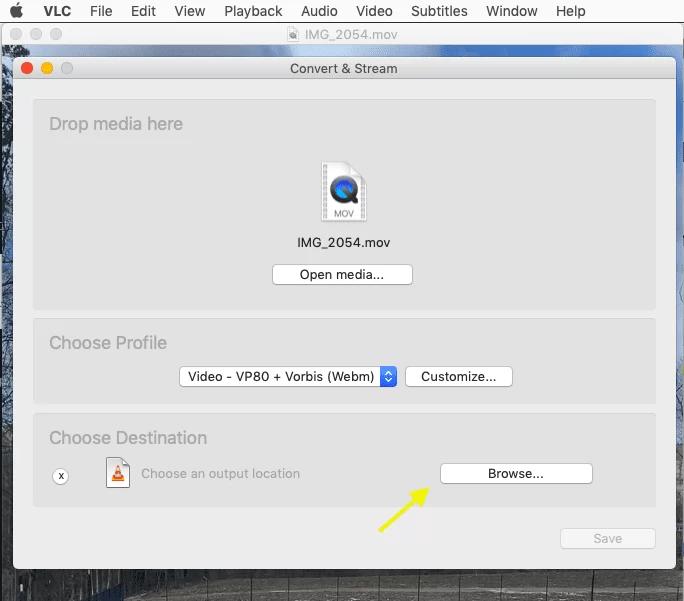
The VLC Media Player’s subtitle embedding procedure is quite straightforward and doesn’t require extensive video editing knowledge. It’s a great option for beginners in the world of video editing. Now, let’s explore how to embed subtitles using VLC Media Player, a versatile and free media player.
- Open the video file you wish to embed the subtitles into using VLC.
- Once the video is loaded, click on ‘Subtitle’ in the menu bar and then choose ‘Add Subtitle File’.
- From your files, choose the subtitle file you have prepared. It will then be added to the video.
- To make the subtitle merging permanent, click on ‘File’, then ‘Convert/Save’.
- Add your input file (which, in this case, is the video), then click on the ‘Subtitle’ tab and check the option that suggests ‘Overlay subtitles on the video’.
- You’re almost there! Choose your destination file, and then hit ‘Start’. Lo and behold – Your video will now have the subtitles embedded permanently.
How to Embed Subtitles using a Video Converter?
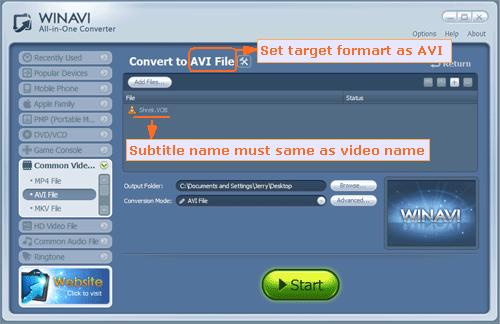
Embedding subtitles isn’t only about the use of media players or video editing software. An alternative handy tool to get subtitles into your video permanently is the video converter, offering a user-friendly interface.
- Upload your video file into the video converter.
- Click on the ‘Subtitles’ tab and select ‘Add’.
- A dialogue box will open from where you can select your subtitle file, which will then be added to the video.
- All that’s left is to choose your desired output format and the location where you want to save it, and then convert the video.
Voila! The resulting video file will have the subtitles embedded.
With a video converter, embedding subtitles into your video may seem like a piece of cake, as it often provides a user-friendly interface perfect for those who are new to video editing.
Embed Subtitles in Your Videos

So remember, the next time you plan on sharing a video, don’t overlook the power of subtitles. After all, they’re more than just words at the bottom of the screen – they’re a powerful, underutilized tool that can make your shareable content more accessible, engaging, and informative. Happy subtitling!
